Inspired by Segregation By Design, I created this before/after animation of areas in Sacramento destroyed by freeways:
I’ve been asked by many to create more for other cities (and get paid). Unfortunately, I don’t have the time and don’t need the money, so this will likely be the last one I make. However, there are many skilled and quick-to-learn urbanists in the world that might be able to produce something similar for their city given a little help!
The following method is completely free, but it will be labor intensive. Things you will need:
Obtain the historic imagery using EarthExplorer
First, go to https://earthexplorer.usgs.gov/ and create an account. After logging in:
- Zoom the map to your city.
- Click “Use Map” to configure the search coordinates.
- Enter a date range of 1930 to 1955 (freeways came after 1955).
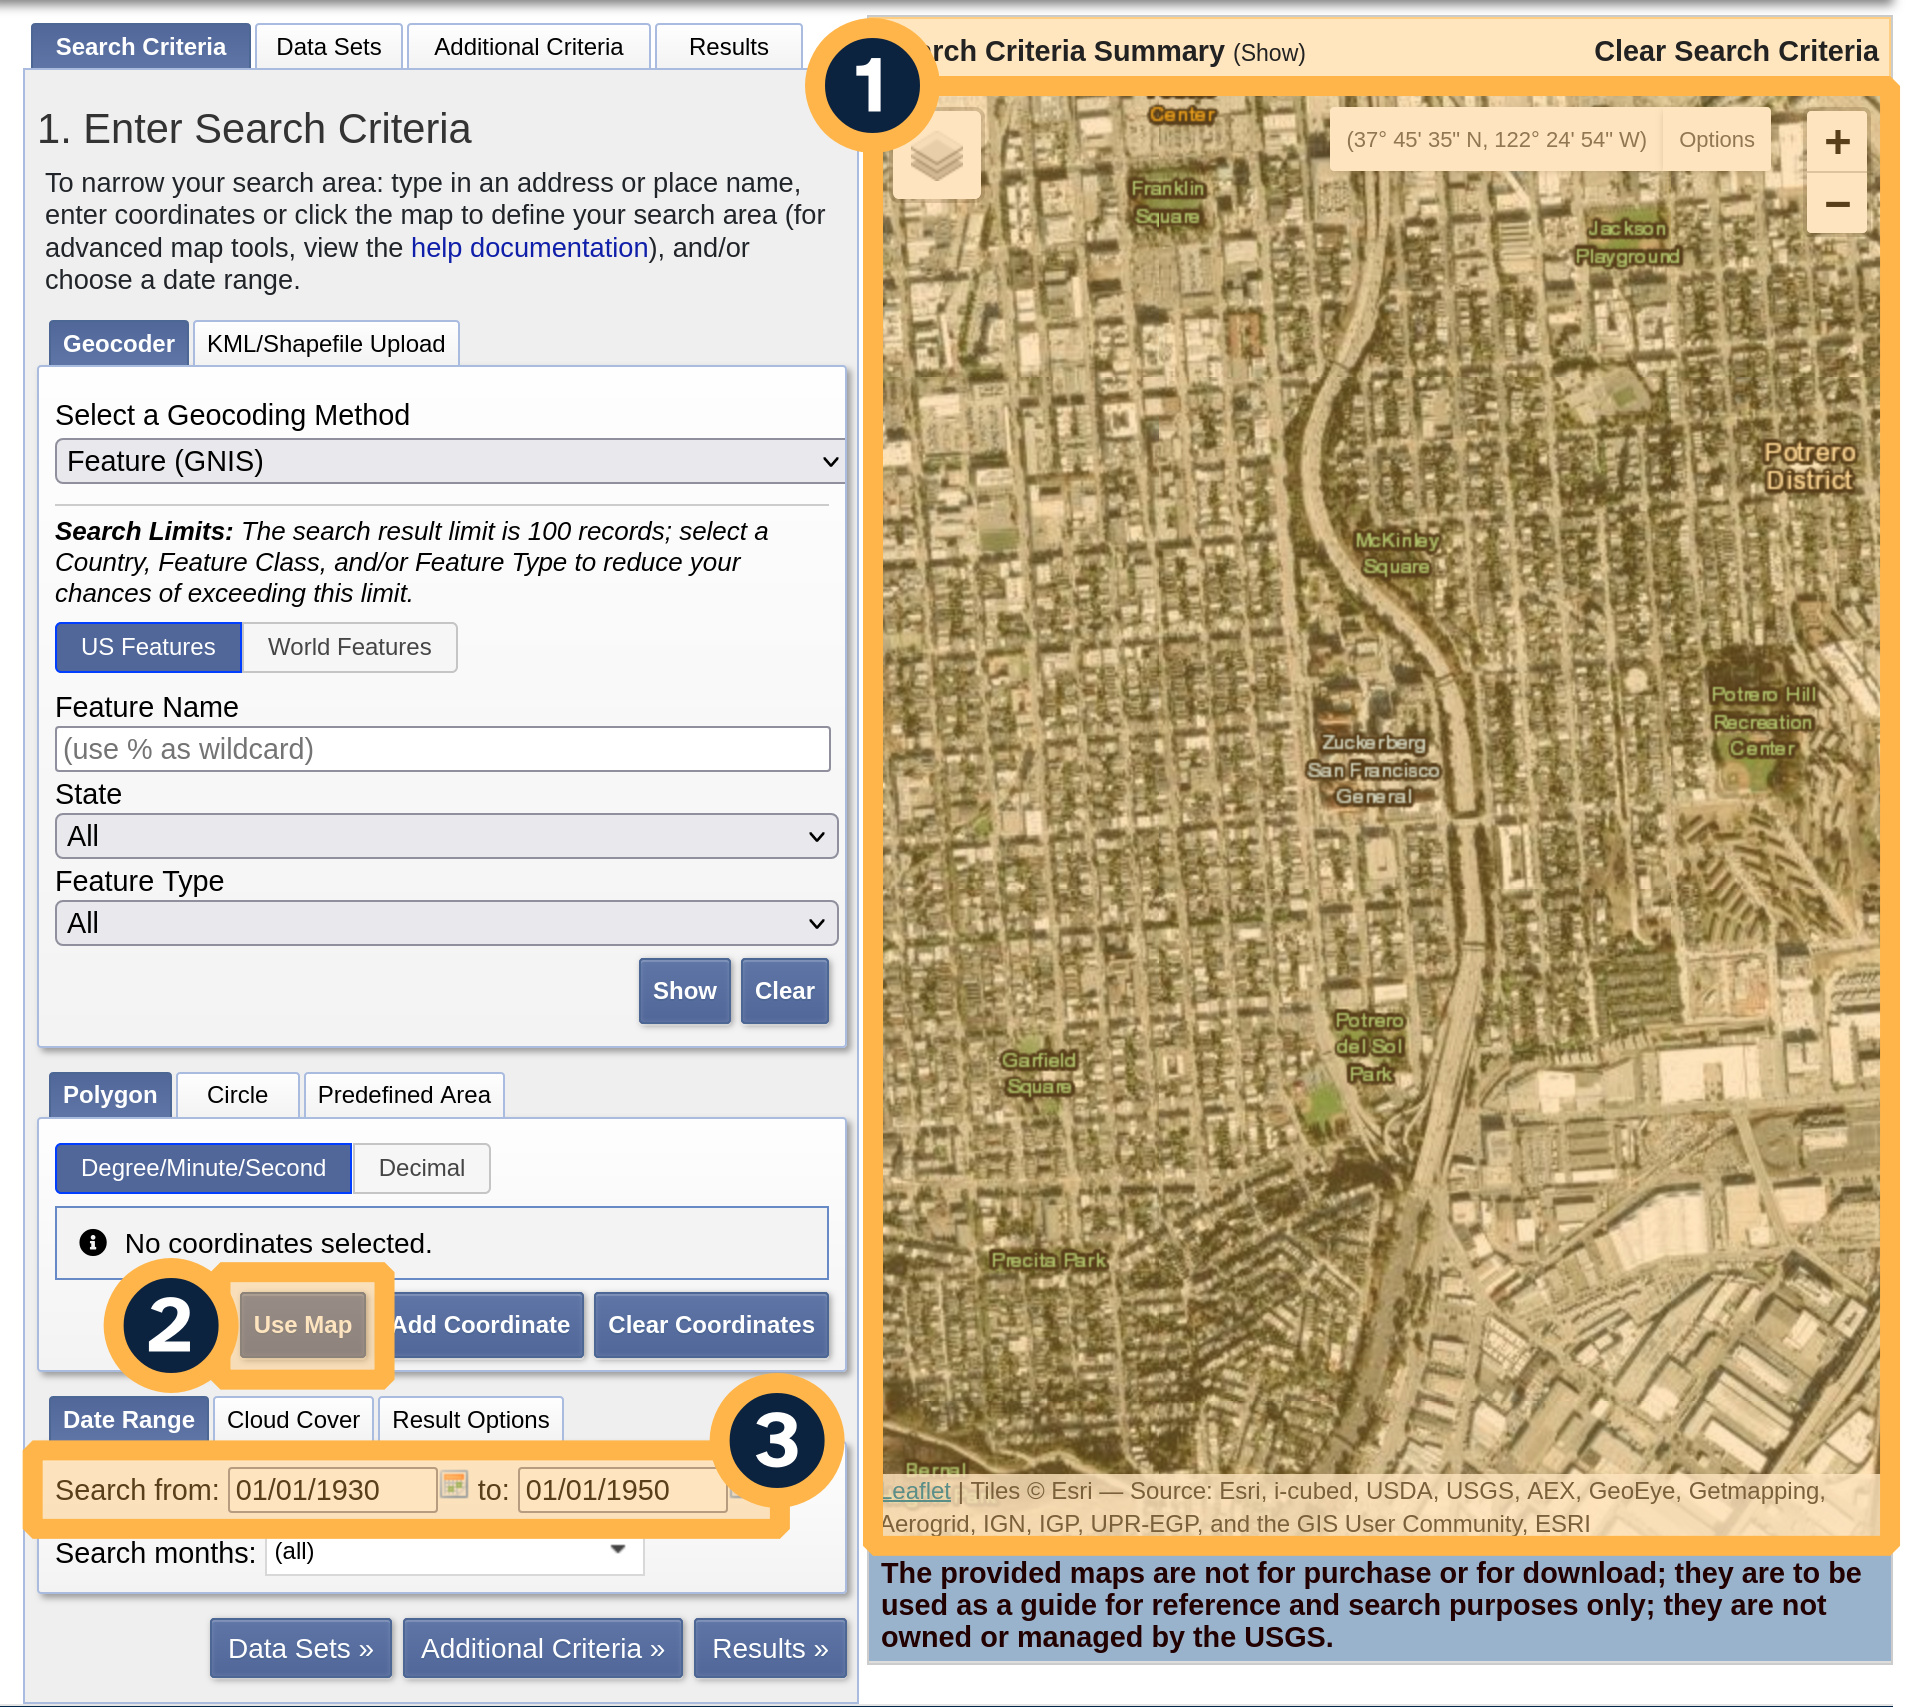
Navigate to the “Data Sets” tab, then:
- Check “Aerial Photo Single Frames“.
- Click “Results »“.

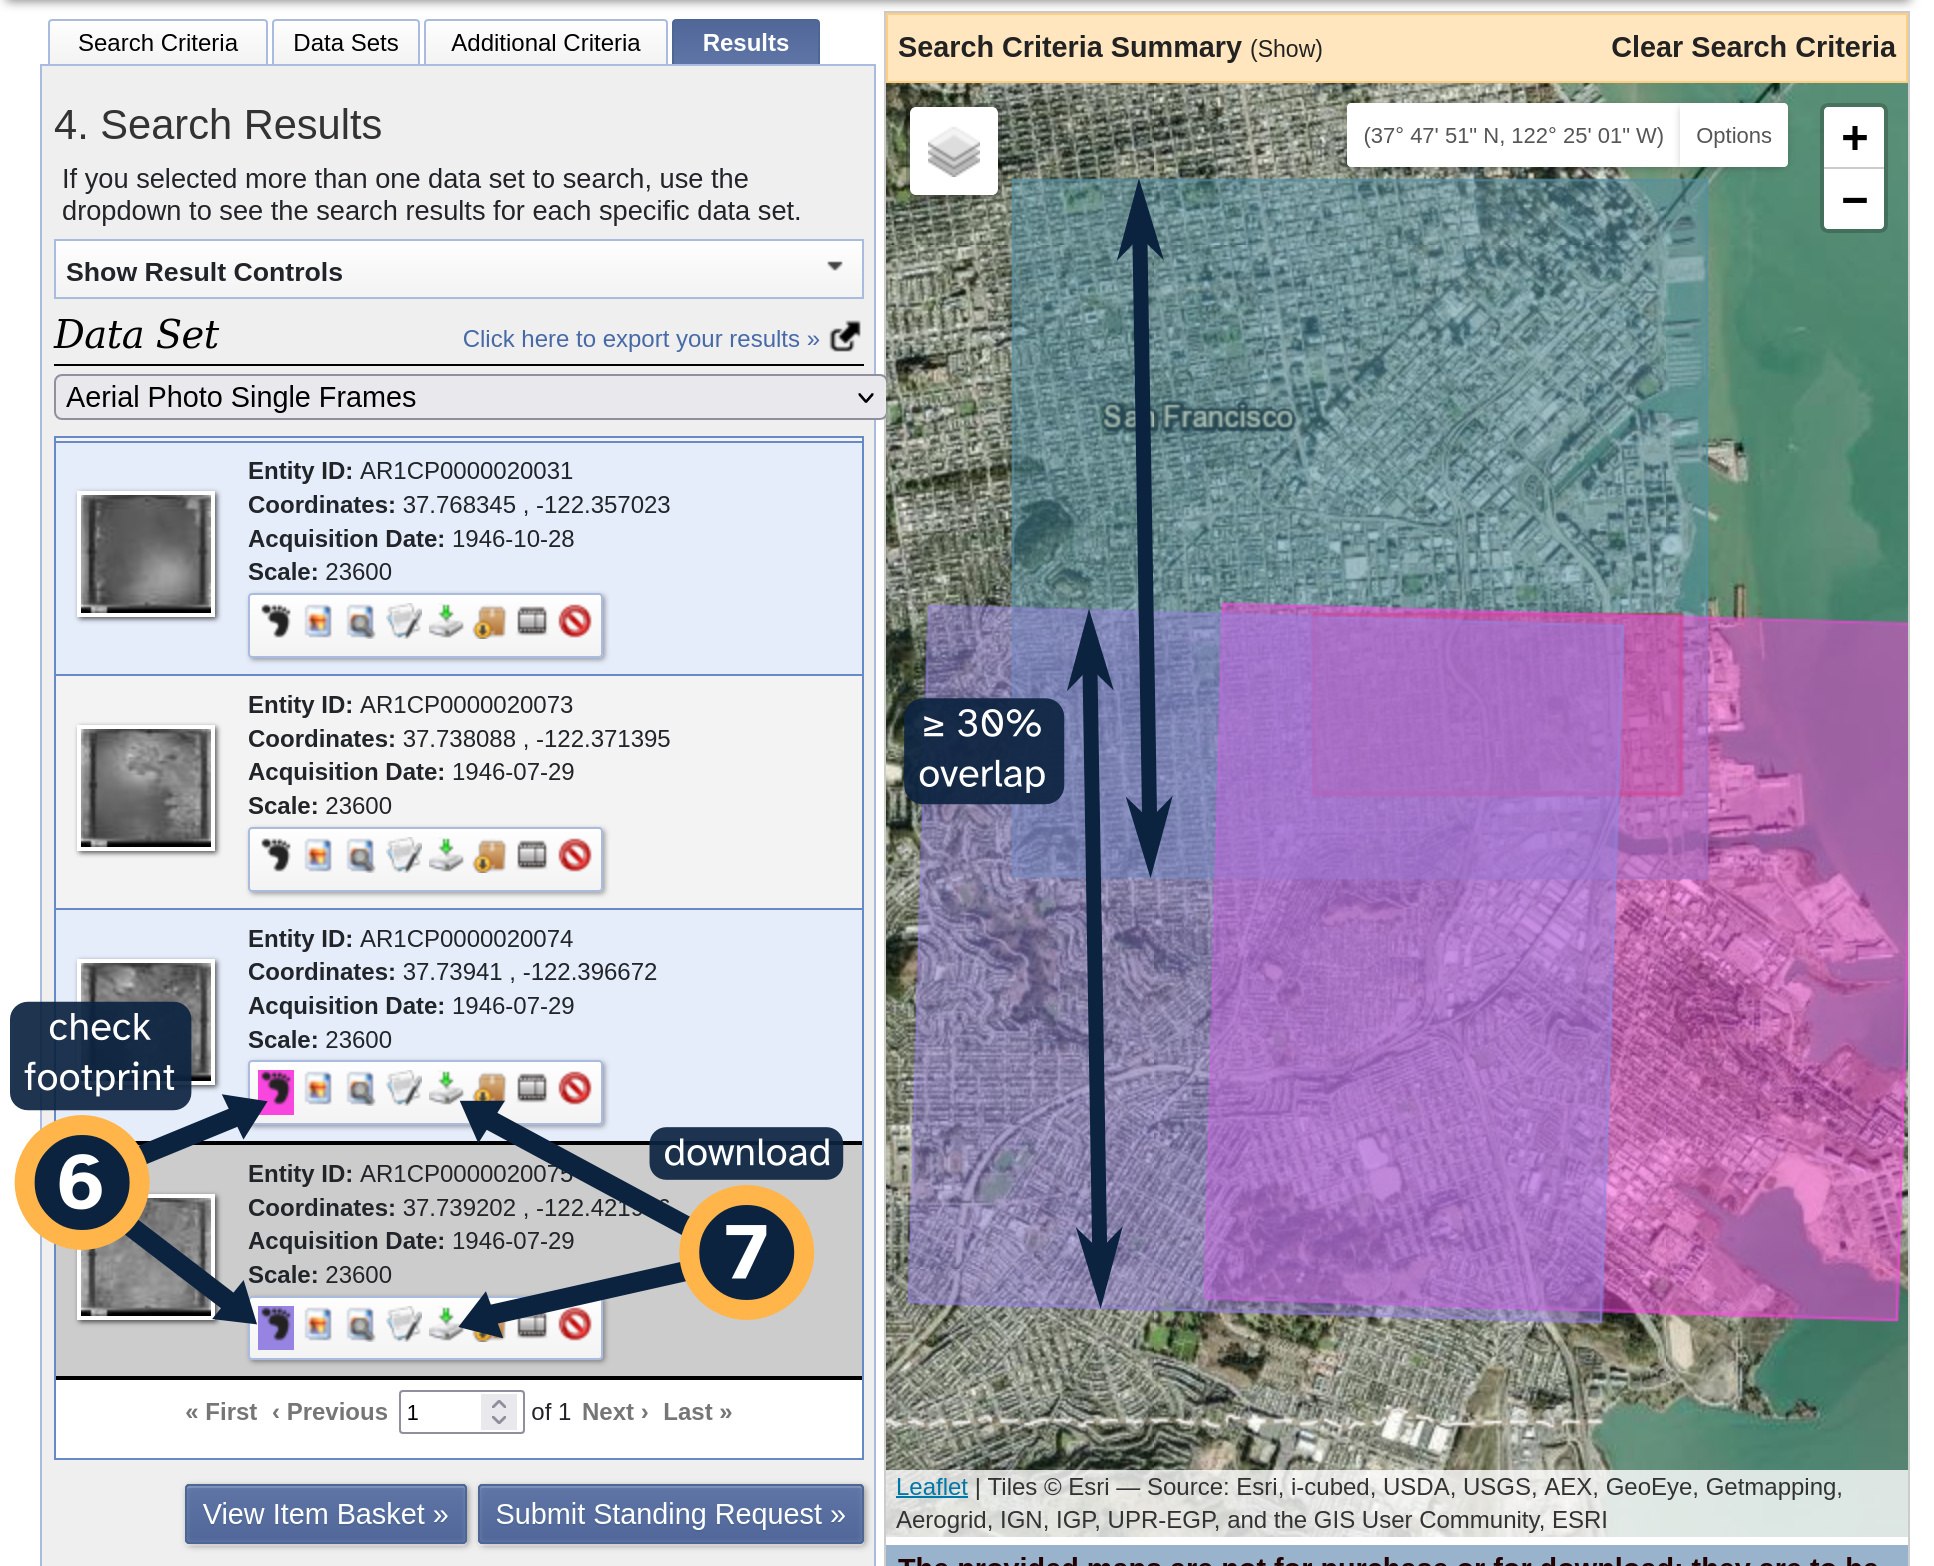
- Preview the footprint of the images and check if they cover the area needed. If not, check the footprints of multiple images and make sure they overlap by at least 30%.
- For each image that you need, click the download button and download the “High Resolution Product“.
Georeference the images using QGIS
Next, we will align the historic aerial images to contemporary imagery. This requires moderate GIS skills.
This step is called georeferencing and we will use QGIS. For the most part, the Georeferencer documentation covers most of how to use this tool, but here’s my condensed instructions specific to aerial images:
- Create a new QGIS project and set the project CRS to a projected coordinate system for your city.
- For example, I’d use EPSG:3310 for any city in California, or EPSG:26986 for any city in Massachusetts.
- Add a google satellite layer: “Layer” -> “Add Layer” -> “Add XYZ Layer…”
- Select the “google satellite” preset.
- Click “Add“, then “Close“.
- For each historic image, follow the Georeferencer documentation to produce a georeferenced output. Here are some tips:
- Define about 30 GCP points per image. Use street intersections as the GCP points as these are unlikely to have moved over time. Try to cover every area of the photo.
- Define the georeferencing transformation settings:
- Set the “Transformation type” to “Thin Plate Spline (TPS)” which works particularly well for historic aerials with distorted lenses.
- Make sure the Target CRS is set to the same project CRS you set earlier.
- Set the “Resampling method” to “Cubic” which is just better quality than the default.
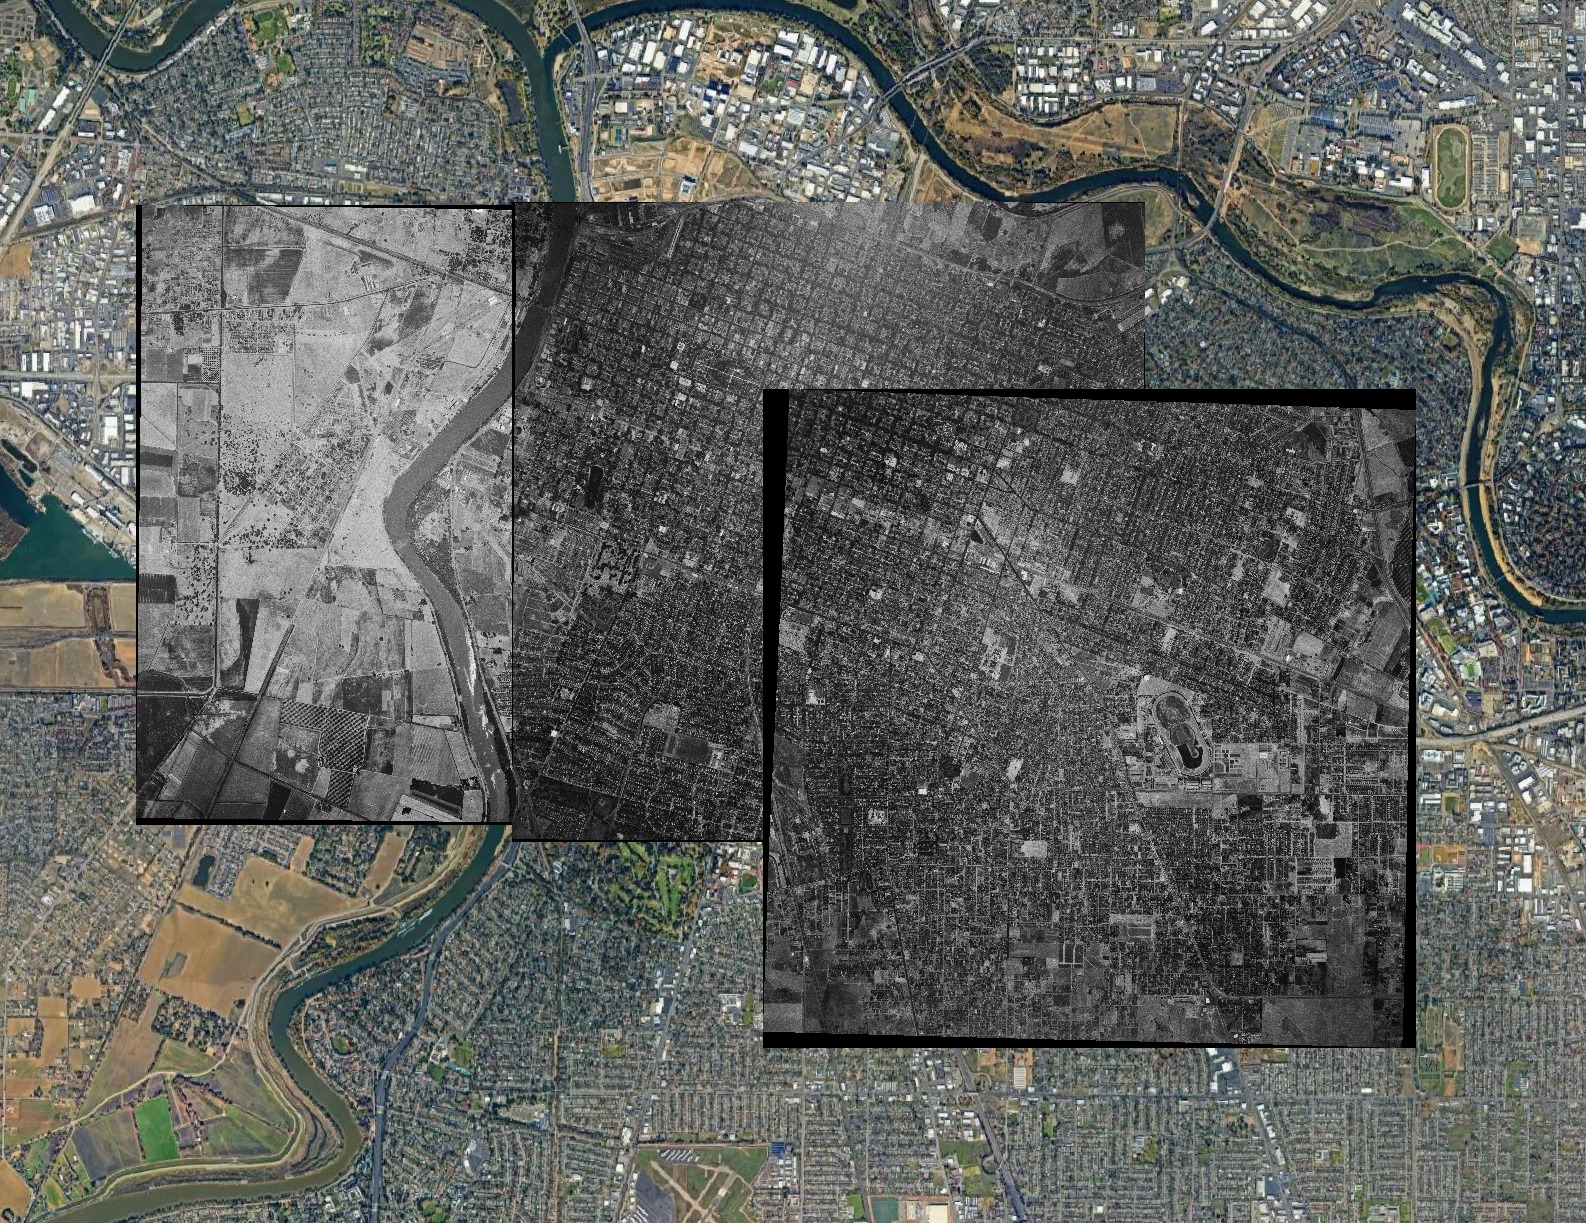
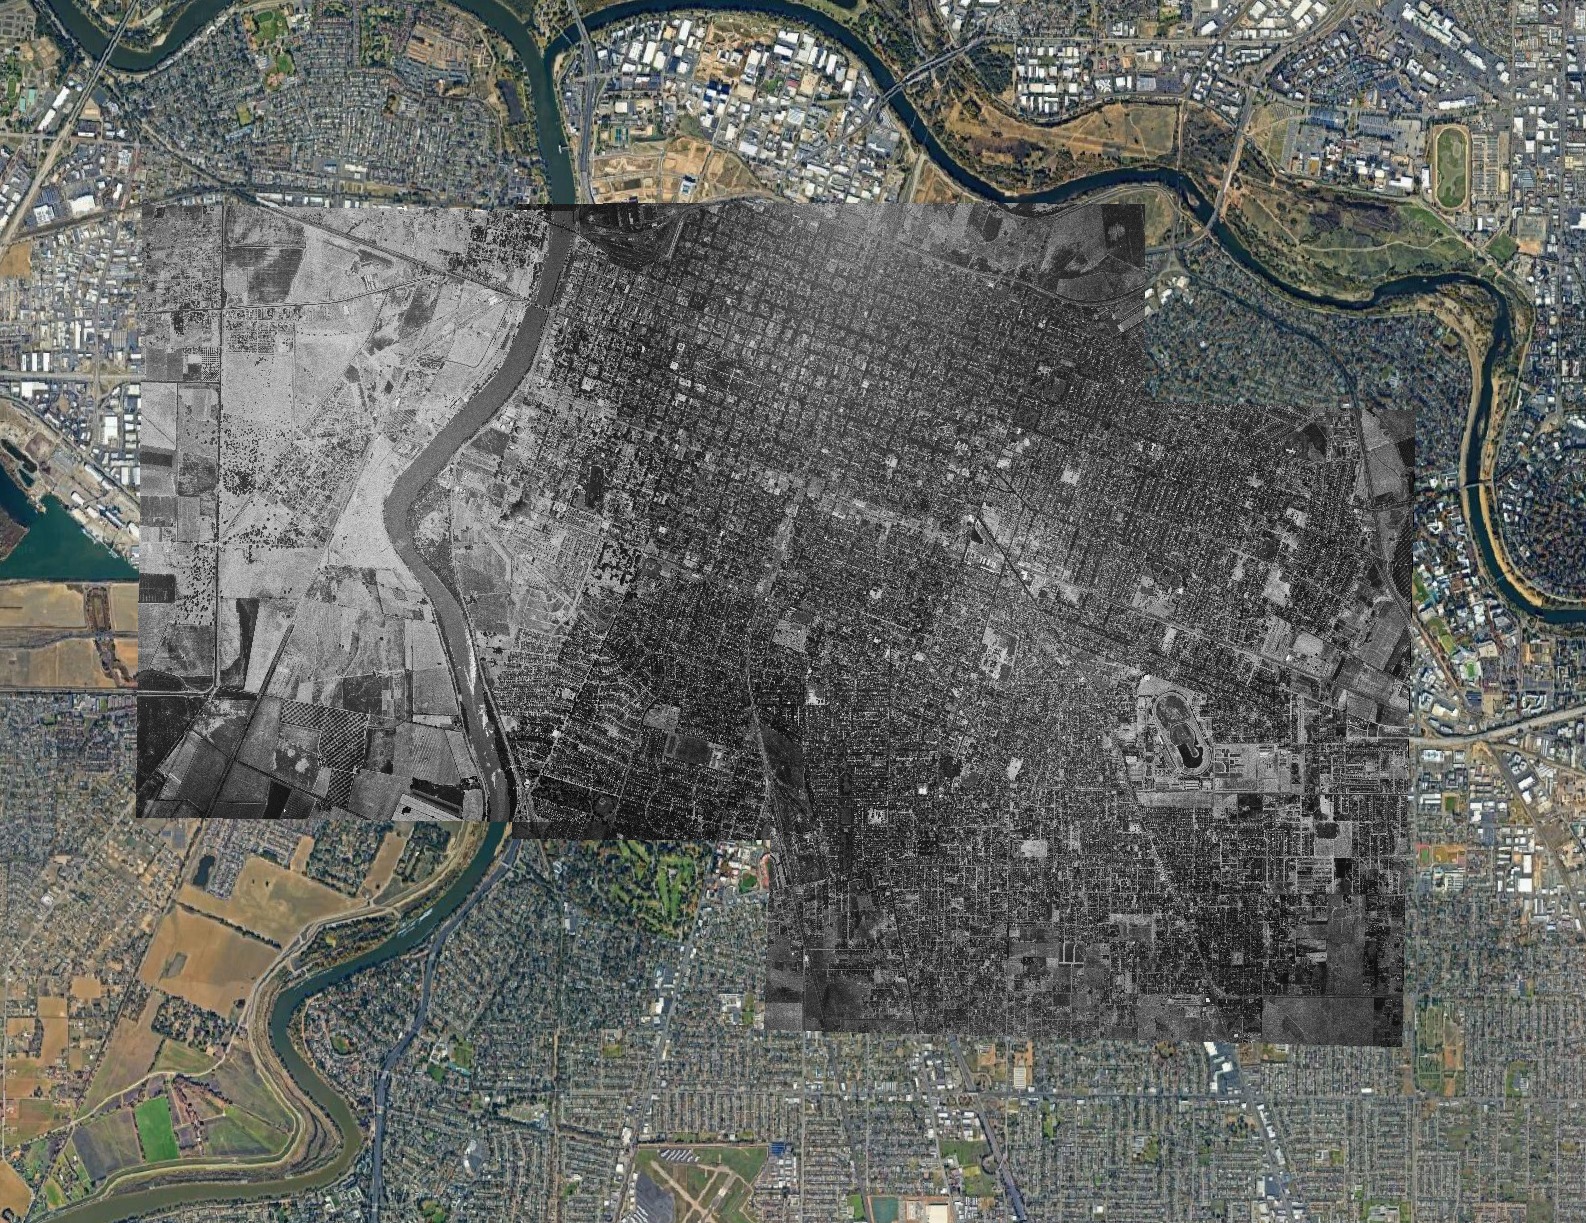
After all images have been georeferenced, they will be perfectly aligned to the underlying google satellite layer! However, if you georeferenced multiple images they will have obvious transitions and edges:
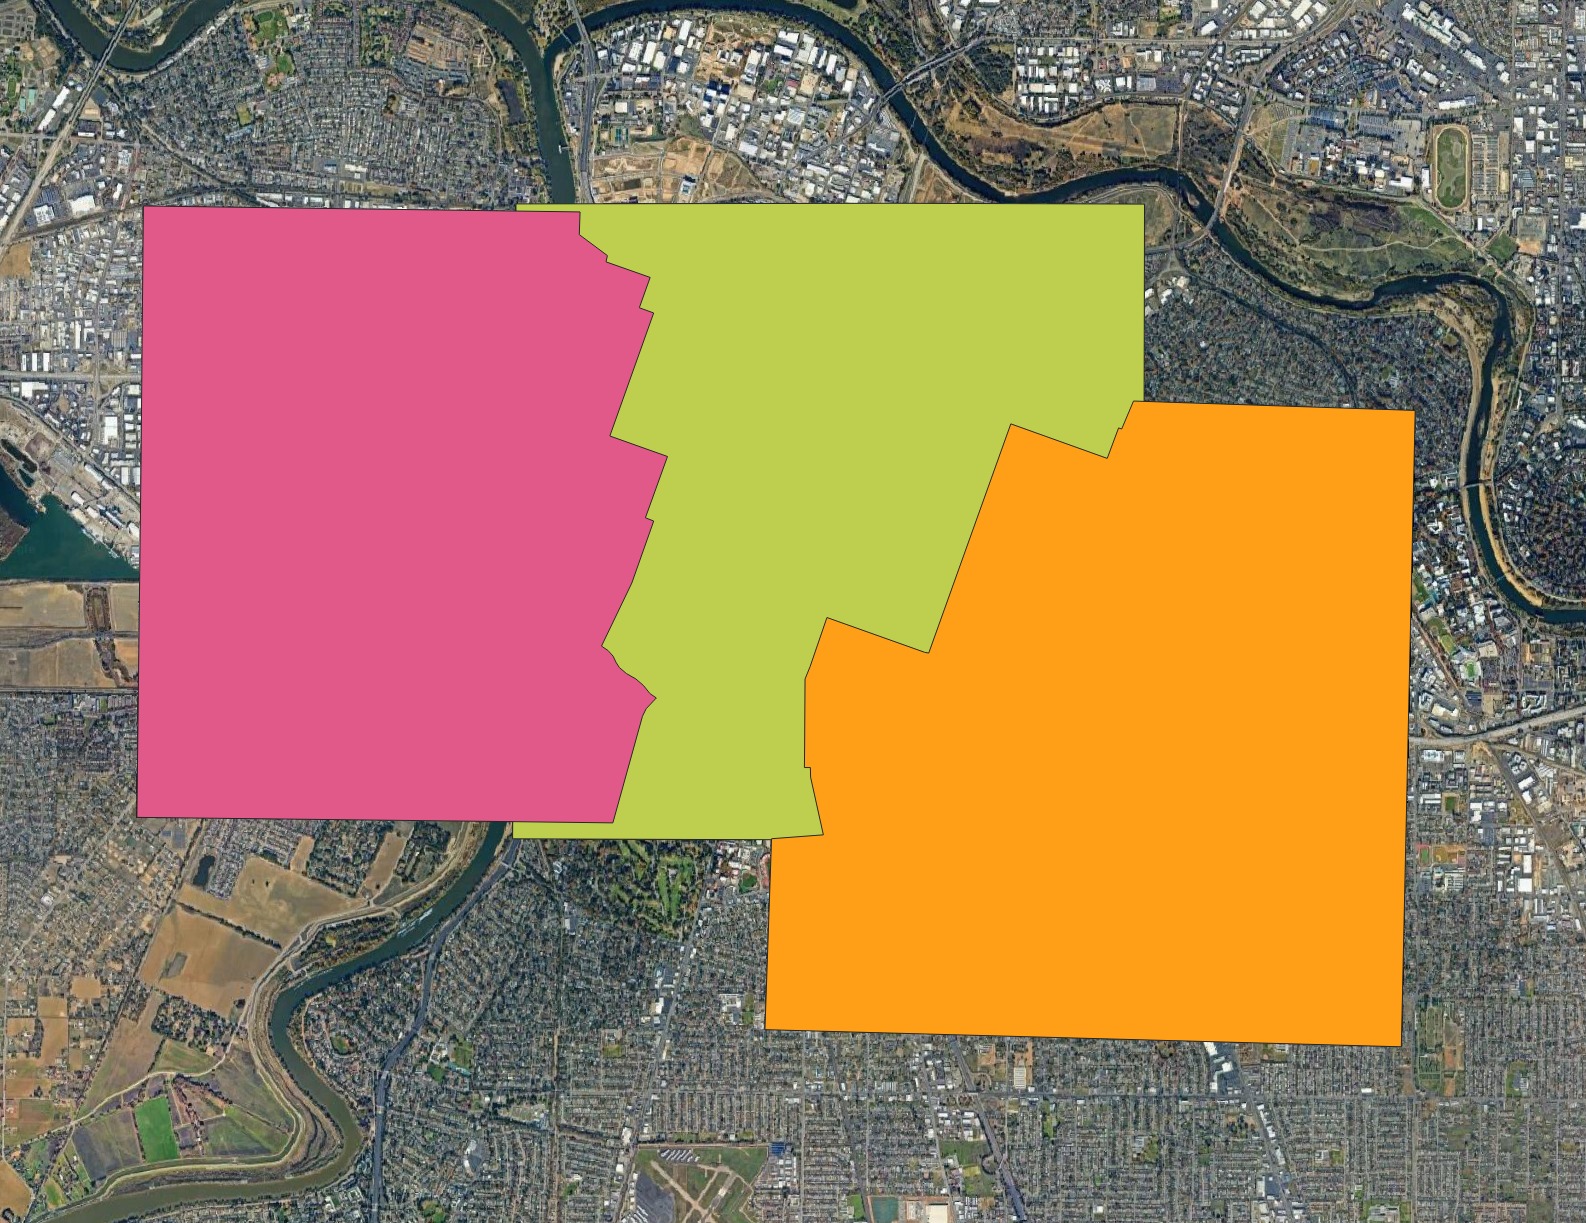
The method I used to blend two adjacent images was to manually draw masks along the center of streets. If the brightness is different between opposite sides of a street, that is easier to ignore than if a street itself changes brightness along its length. Here are the masks I drew:
And here is the end result with masks applied:
Now, we turn to preparing an “after” image:
- Hide the georeferenced layers.
- Set the google satellite layer style to black-and-white.
- Create a new vector layer called “freeway fooprints” and manually draw polygons representing the freeway footprints:
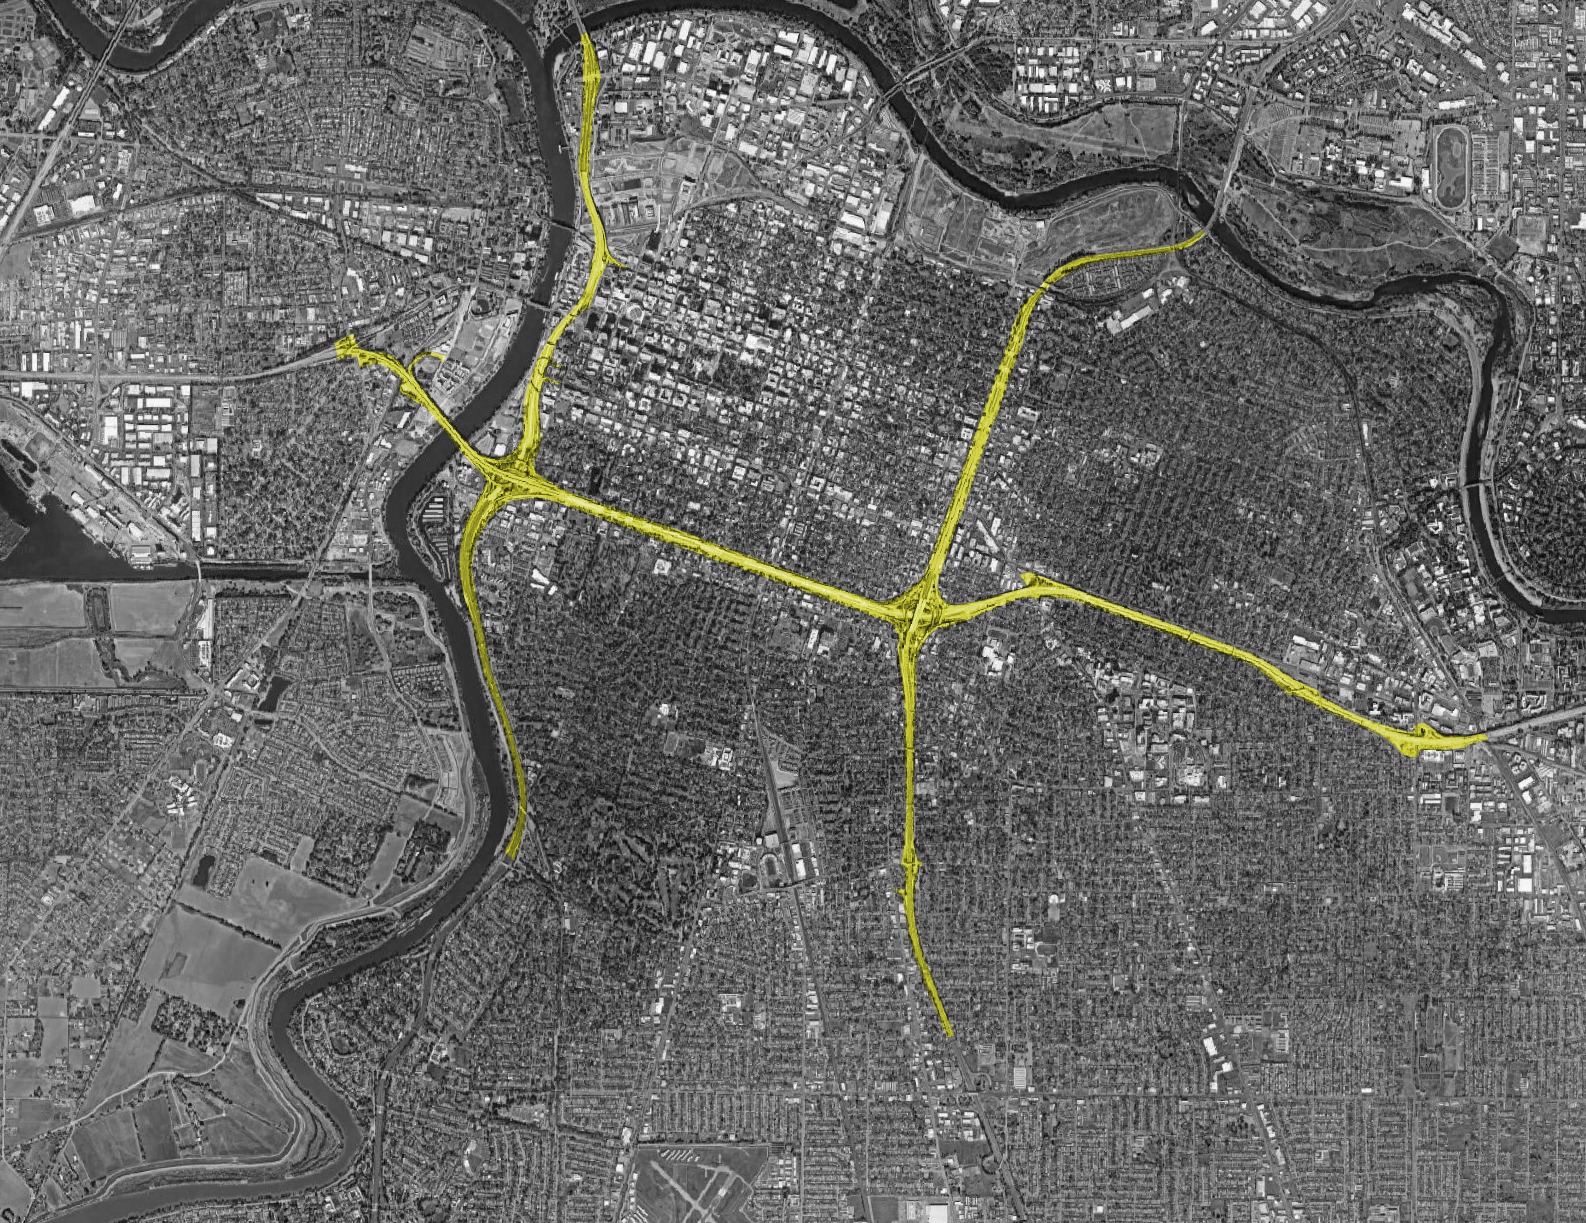
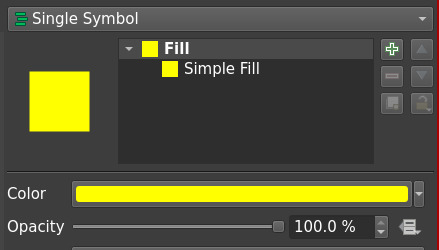
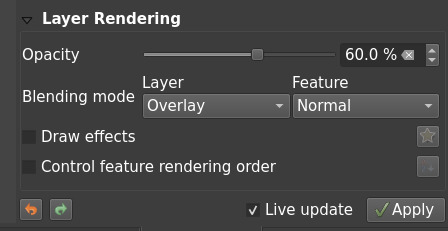
For the freeway footprint polygon, I found that a solid yellow fill with an “Overlay” blending mode and 60% opacity looks best:
Finally, export the result into two massive before & after images that we can use for the animation:
- Un-hide your aerial images.
- Click “Project” -> “New Print Layout…“
- “Add Map” and try your best to frame the map to include all your aerial images.
- “File” -> “Export Image” to export a PNG named “before.png“.
- Set the longest dimension to 10k pixels, as I’ve found that this is the largest size that Blender can handle in-memory on my computer.
- Go back to the main GIS window and hide your georeferenced images. The google satellite layer and freeway footprints layer are now the only visible layers.
- Return to the layout window, click the refresh button, and Repeat step 4 to export another file called “after.png“.
[WIP] Create flyover animation in Blender
Start a new Blender project and delete the cube, camera, and light. Save this project.
Initial configuration:
- Render Properties -> Color Management:
- Set “View Transform” to “Standard” – this is needed because the project will not leverage high dynamic range and lighting, and we don’t want the view transform to distort our sRGB inputs.
- Output Properties -> Format
- Set Resolution X to 1080 px – optimal for Instagram
- Set Resolution Y to whatever you want.
- Recommended frame rate of 30 fps – maximum for Instagram
- Output Properties -> Output
- Set Filename to “//render_after/Image####.png”
Create two view layers: “before” and “after”. Using the Compositor, make these view layers fanout into two separate output files by sending the “after” view layer to the Composite node, and the “before” view layer directly into a file output node:
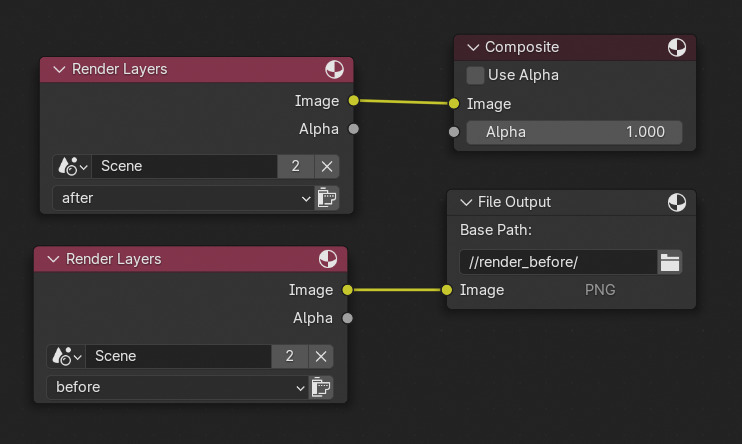
The end result is that when you Render Animation (Ctrl F12):
- Frames from the “before” view layer will get saved to “//render_before/Image*.png”
- Frames from the “after” view layer will get saved to “//render_after/Image*.png”
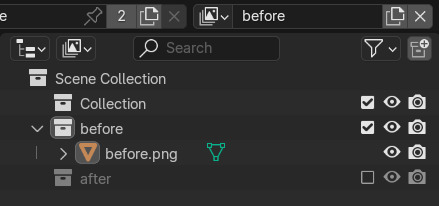
Next, create two collections and configure them to be exclusive for each view layer:
- “before” collection should only be rendered in the “before” view layer.
- “after” collection should only be rendered in the “after view layer.

For each before.png and after.png file that you exported from QGIS:
- Import the png file using “Images as Planes”.
- Distribute the image plane object into the same-named collection.
- Scale the plane 10x – this will make it more convenient to work with later.
- Select the plane and switch to the Shading tab. Connect the input image DIRECTLY to the material output like so:

The end result should be that colors from the input image are completely preserved through the entire materials pipeline and color management pipeline.
Create a camera inside the default “Collection” collection, and set its Type to “Orthographic”. Roughly position the camera above the freeway and set the “Orthographic Scale” of the camera such that the freeway and a few blocks on either side are in frame.
There are many ways to animate a camera, but my method was to draw a bezier curve object to roughly follow the freeway, and then constrain the camera to follow the bezier curve object:

By keyframing the “Offset Factor” to slowly increase, you can glide the camera along your bezier curve: